Alien ocean survival wiki
Subnautica 2
A field guide for the all-new alien ocean: biomes, wildlife, resources, blueprints, and survival routes for solo explorers or four-player crews.
Solo and 4-player co-op Custom bases and tools Hidden deep-sea mysteries
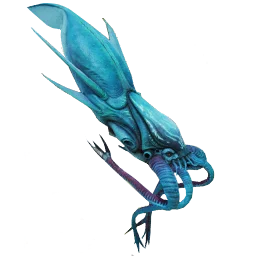

93 Creatures
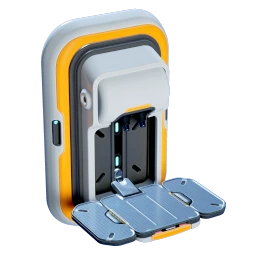
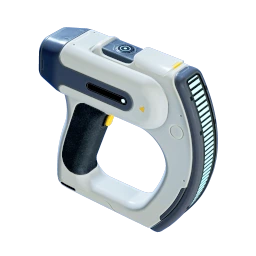
175 Blueprints
203 Items & Resources
3 Biomes
Survival route
Known Ecosystem
The guide already tracks shallow coral zones, sparse transition plains, deep alien ruins, aggressive predators, passive flora, and craftable survival equipment.
PDA INDEX